Prerequisites
Before enrolling devices and access to the Google Play Store can be established, ensure the Google Enterprise Account is created.
Create a Android Enterprise Enrollment
Android Entperprise support introduces a different way to enroll and manage devices compared to the Springmatic-direct method with custom DPC. As such, the Android enrollments between the Springmatic-direct and Android Entperprise are separate and need to be managed independently.
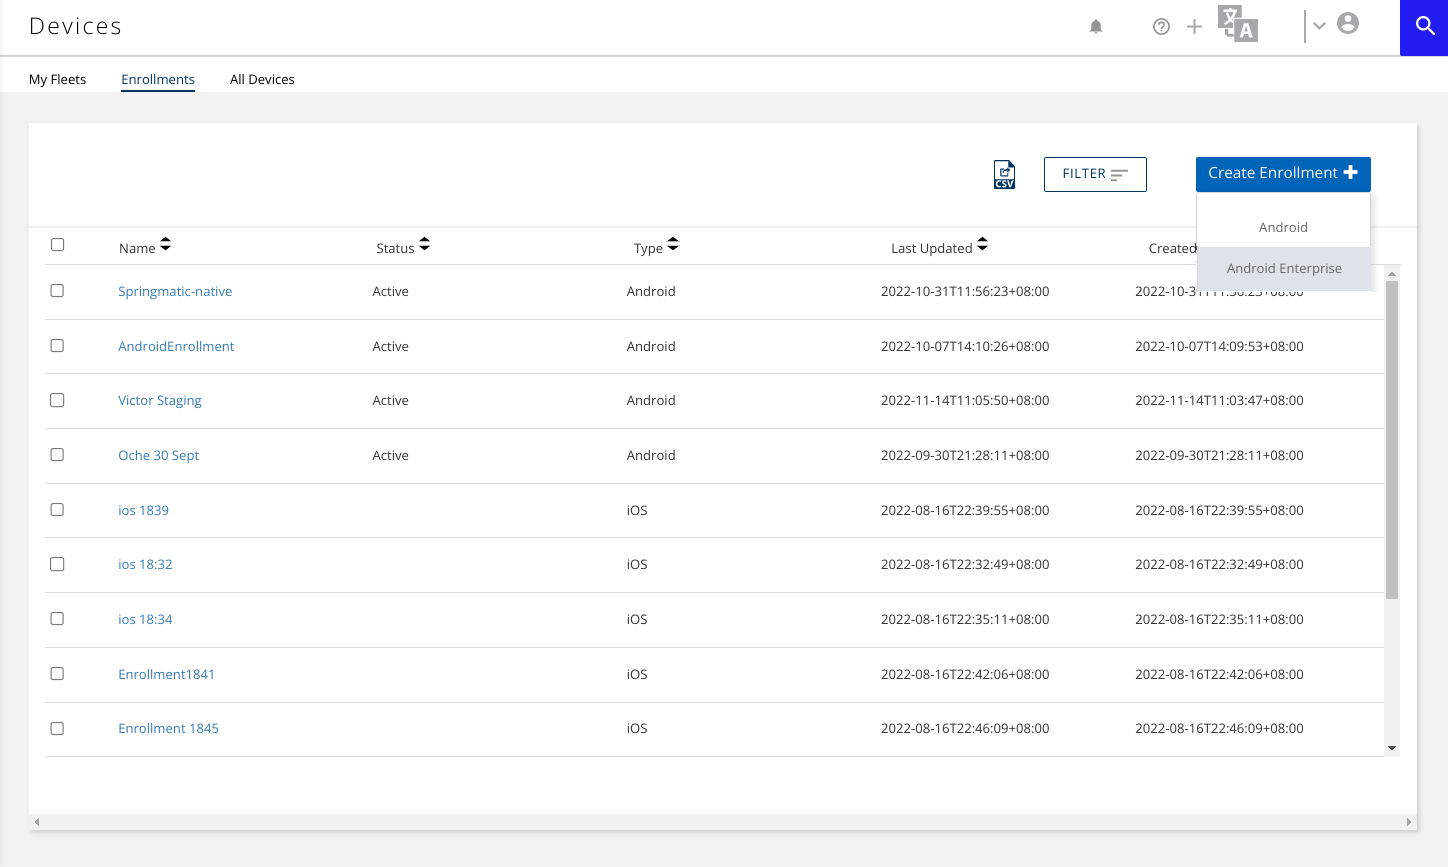
Navigate to the Device screen, click 'Enrollments', and 'Create Enrollment'. Select 'Android Enterprise'.
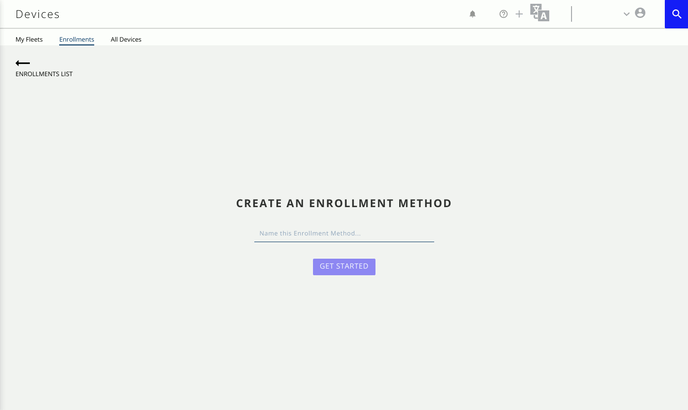
Give the enrollment a name, select the appropriate registered Google Enterprise account, select the device naming rule, and confirm.
Edit the Enrollment
An enrollment can be edited any time by clicking the pencil icon ![]() .
.
Once clicked the enrollment can add a custom staging code with options to Leave System Apps on the device, add a custom WiFi network for staging and enrolling devices, timezone, system language and more.

Other options such as chagning the Target Fleet, and the Device Naming method are also available.
Click 'SAVE' to apply any updates.
On a GMS device with Android Enterprise support, the device can be enrolled during the initial first boot of the device. Tap 8 times on the white/blue area of the screen to bring up the QR code scanner.

Scan the saved QR code of the enrollment. On the warning screen saying "This device belongs to your organization" click 'Next'. The device enrollment will then initiate.
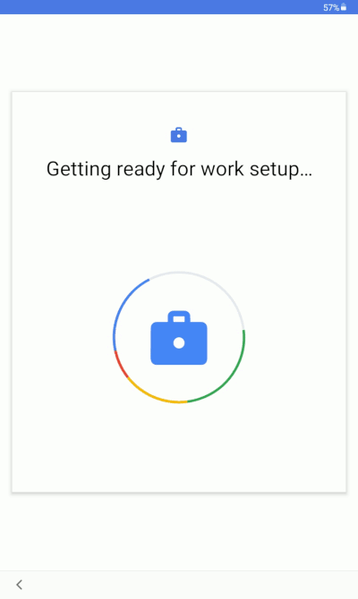 Once complete the device should be enrolled and working with the settings of the assigned profile.