This article will explore logging into the Springmatic platform using an Azure AD
For organizations with an Azure AD account structure, Springmatic can allow login using the same single sign on (SSO) methodology that Active Directory uses.
Connect Springmatic to the Azure AD account
Before login can take place a link between Springmatic the organizations Azure AD account is required.
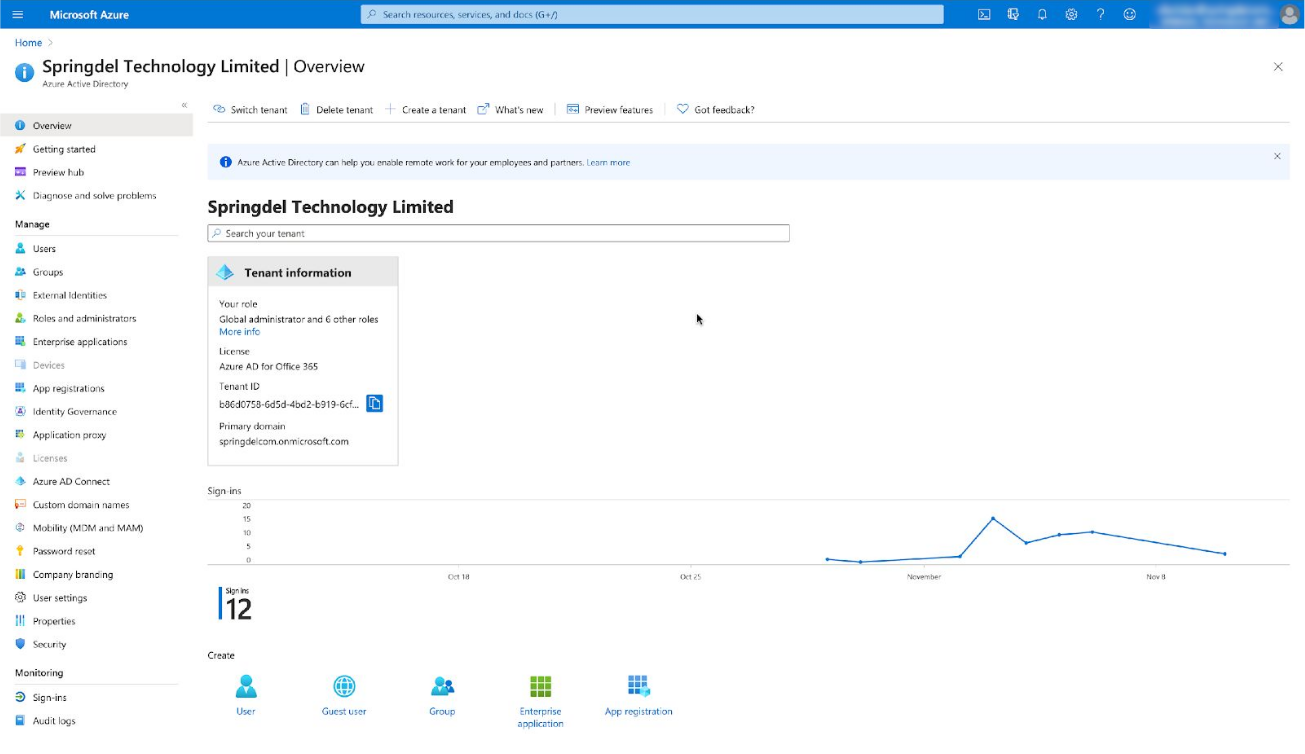
Login into the account with admin permissions in your AAD tenant :
https://azure.microsoft.com/en-us/services/active-directory/
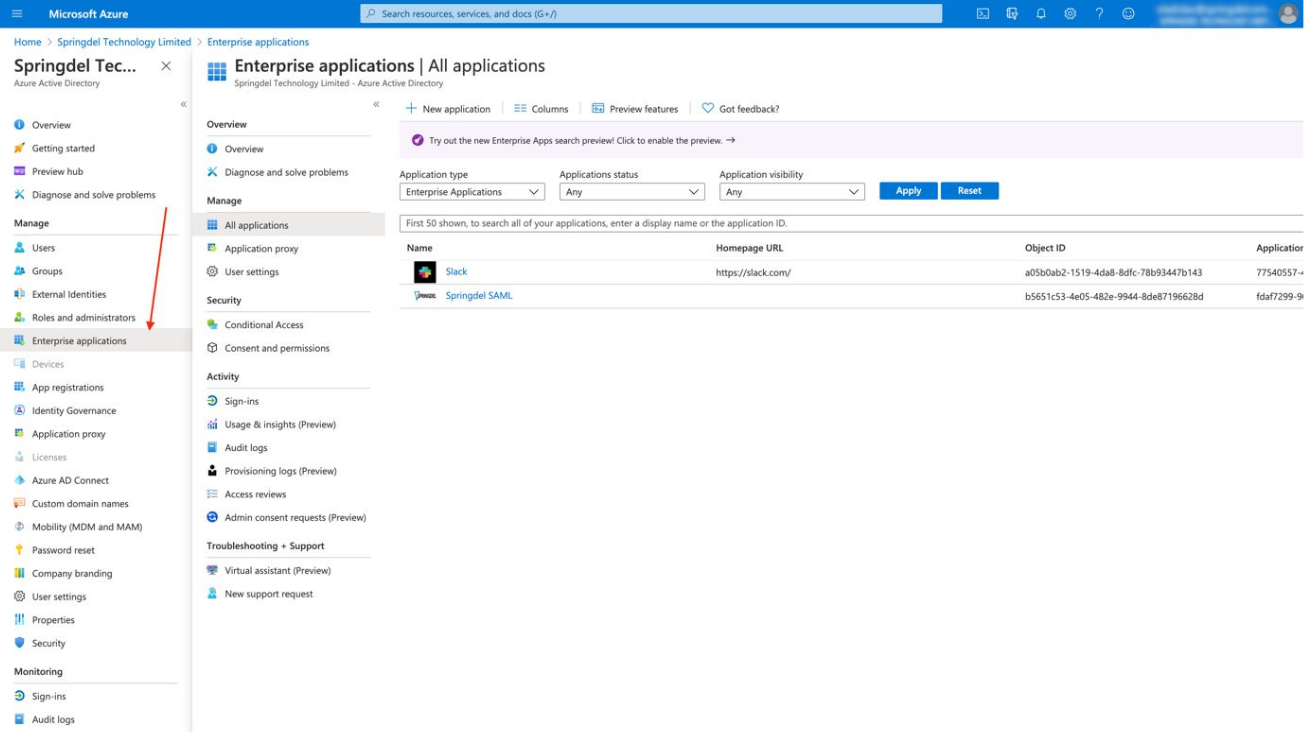
Click on "Enterprise application" and then on "New application". It redirects to Azure AD Gallery.
Create a SAML SSO application
Click on "Create your own application". An additional menu in the right corner will appear.
Enter the name of the application and click on "Create". The admin panel of the new application will appear.

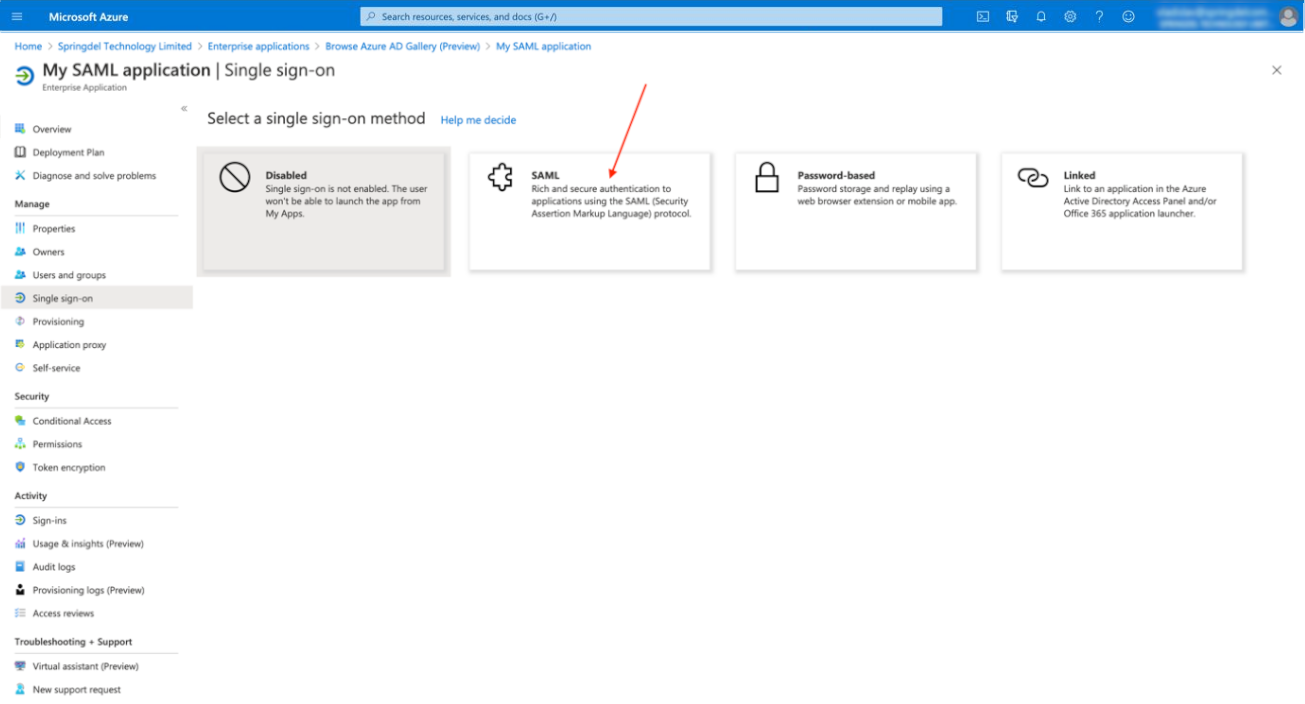
Click on “Set up single sign on”. This is the SSO page.
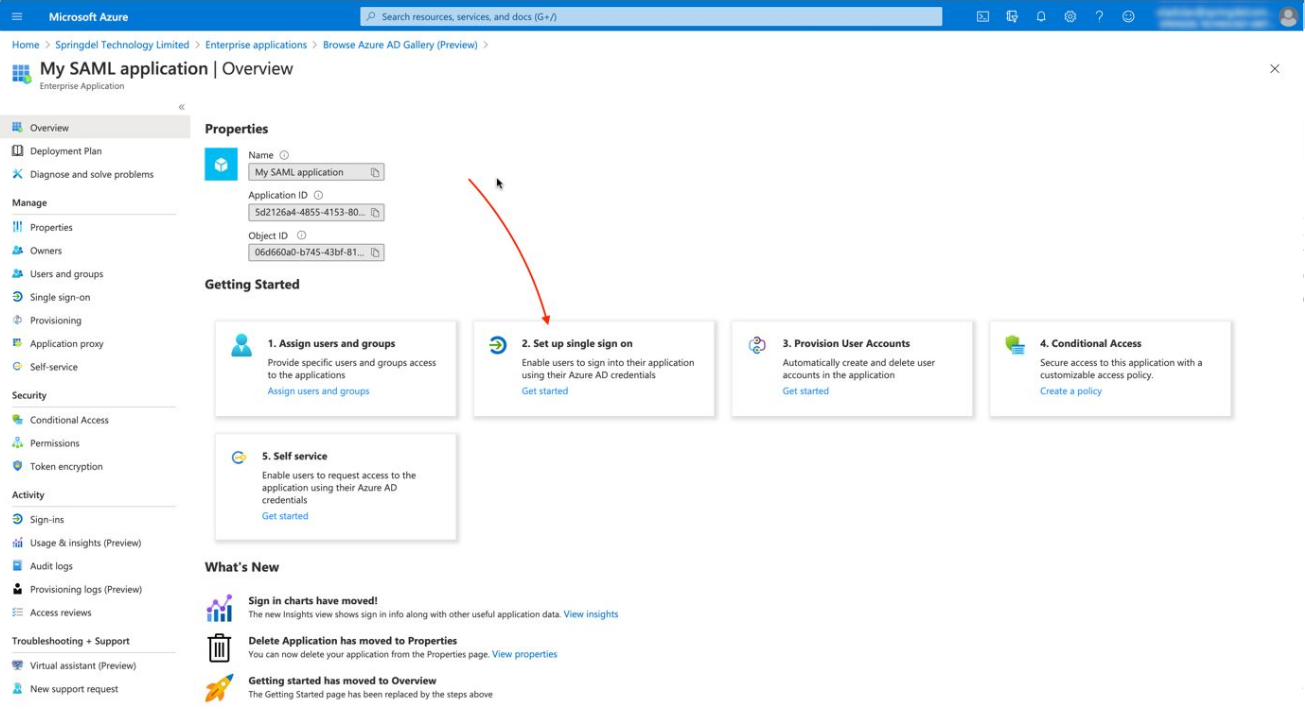
Select the SAML protocol.
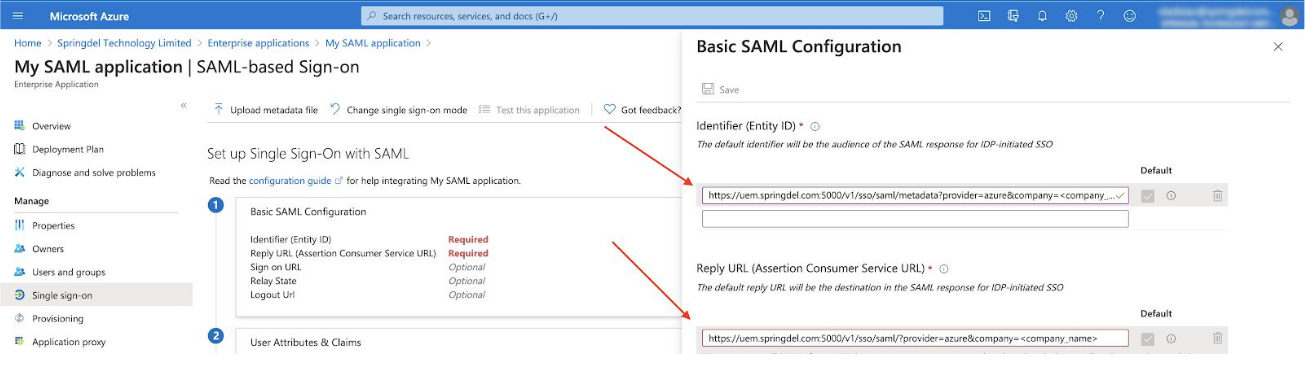
Click on “Edit” button on point 1 and paste the following URLs:
Entity ID: https://edge.springdel.com/uis/v1/sso/saml/metadata?provider=azure&organizationid=<organization_id>
Change the <organization_id> to the ID of your company in the Springdel system, for example:
organizationid=MyCompany.

On the Reply URL form paste:
https://edge.springdel.com/uis/v1/sso/saml/?provider=azure&organizationid=<organization_id>
Share the URLs with us. Other fields can be ignored.
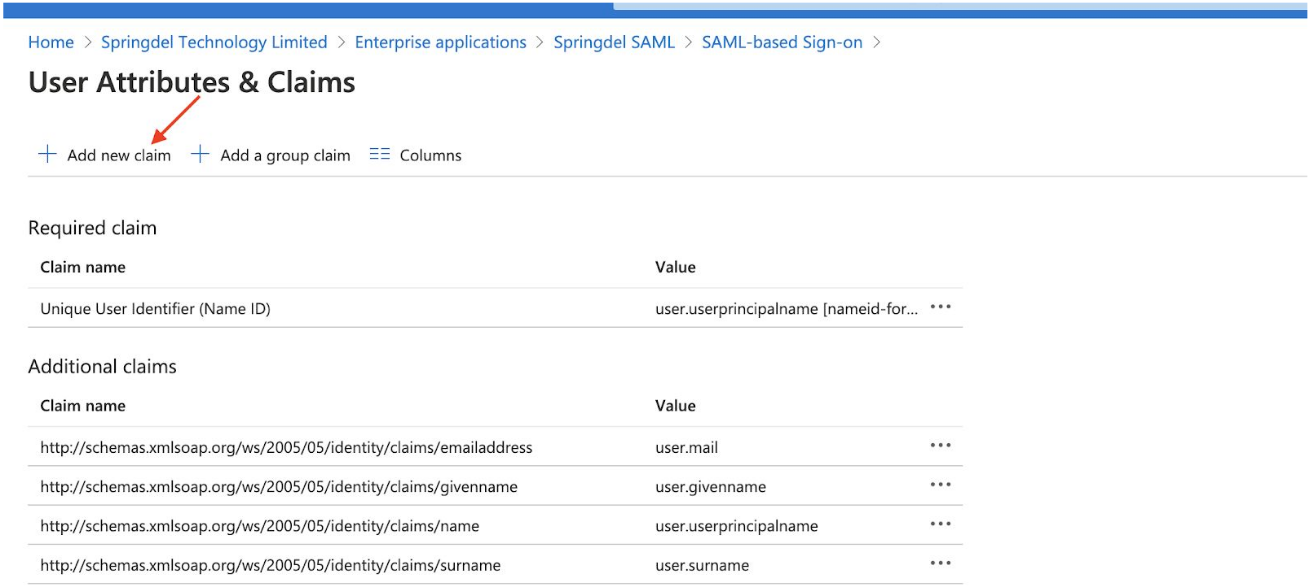
Under User attributes & Claims click on Edit -> Add new claim.
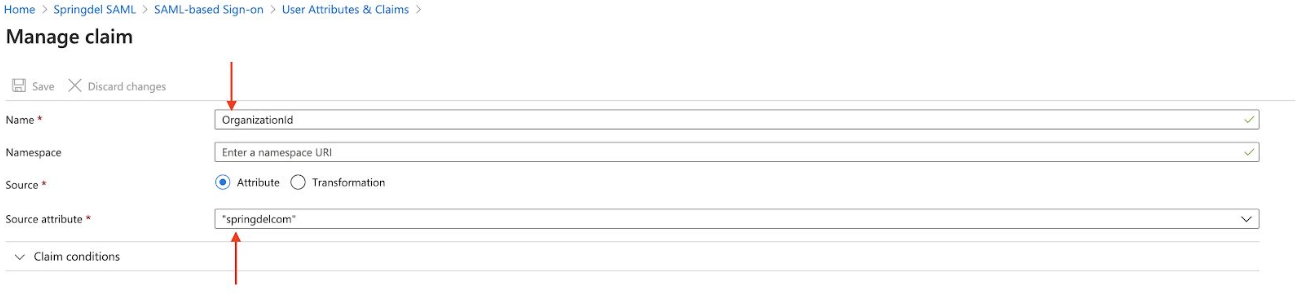
In the 'Name' field type 'OrganizationId'.

Find your organization ID. You can get it from your domain name from main tenant menu panel.
For example, copy “springdelcom” from “springdelcom.onmicrosoft.com” and paste this
value into the Source attribute from above. You should put your organization ID into the “Source attribute” field.
Click on download the “Federation Metadata XML” link. If absent, click on “Add a certificate” button to create the link.
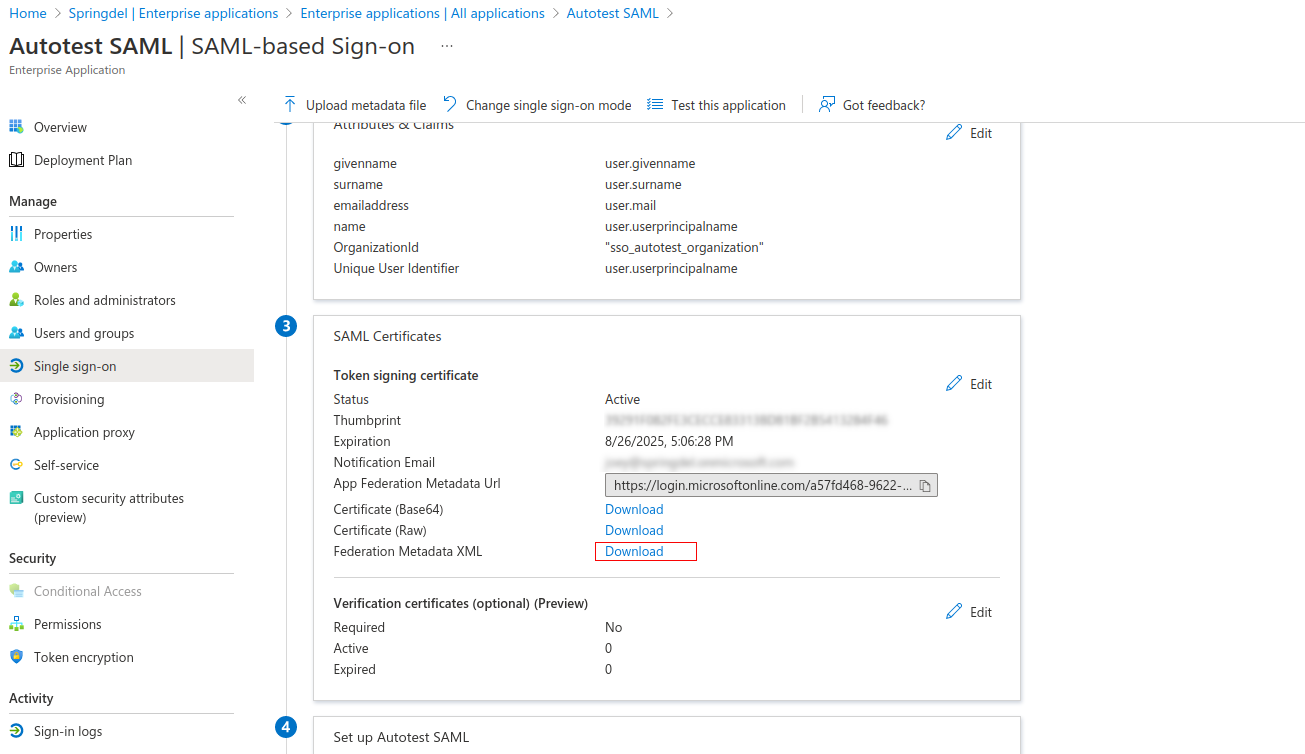
Copy “Login URL” and ”Azure AD identifier” and send the data (and XML certificate from the step above) to Springdel admins.
Click on "Save". Your application will be integrated with Springdel backend service, set
up is almost done. Now you need to assign users from your tenant to SAML application.
Go back to the “Overview page”, click on "Assign Users and Groups" and add users who
will be able to log into Springdel through SAML application.
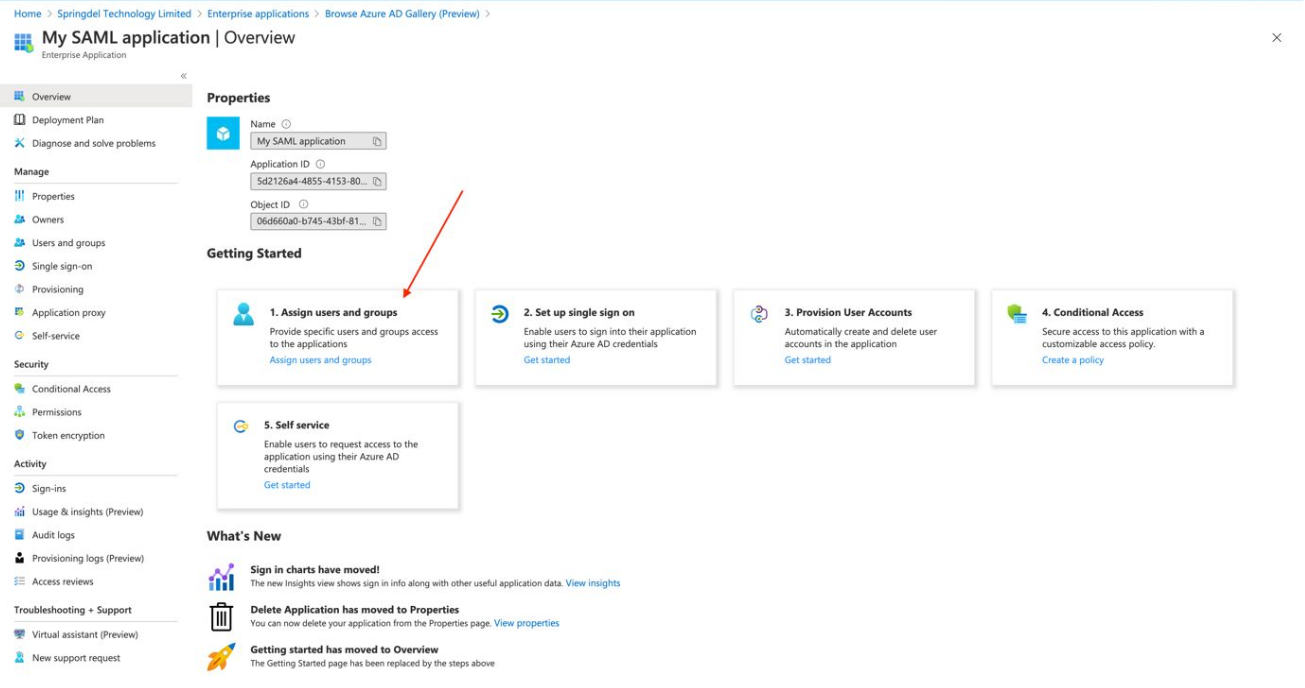
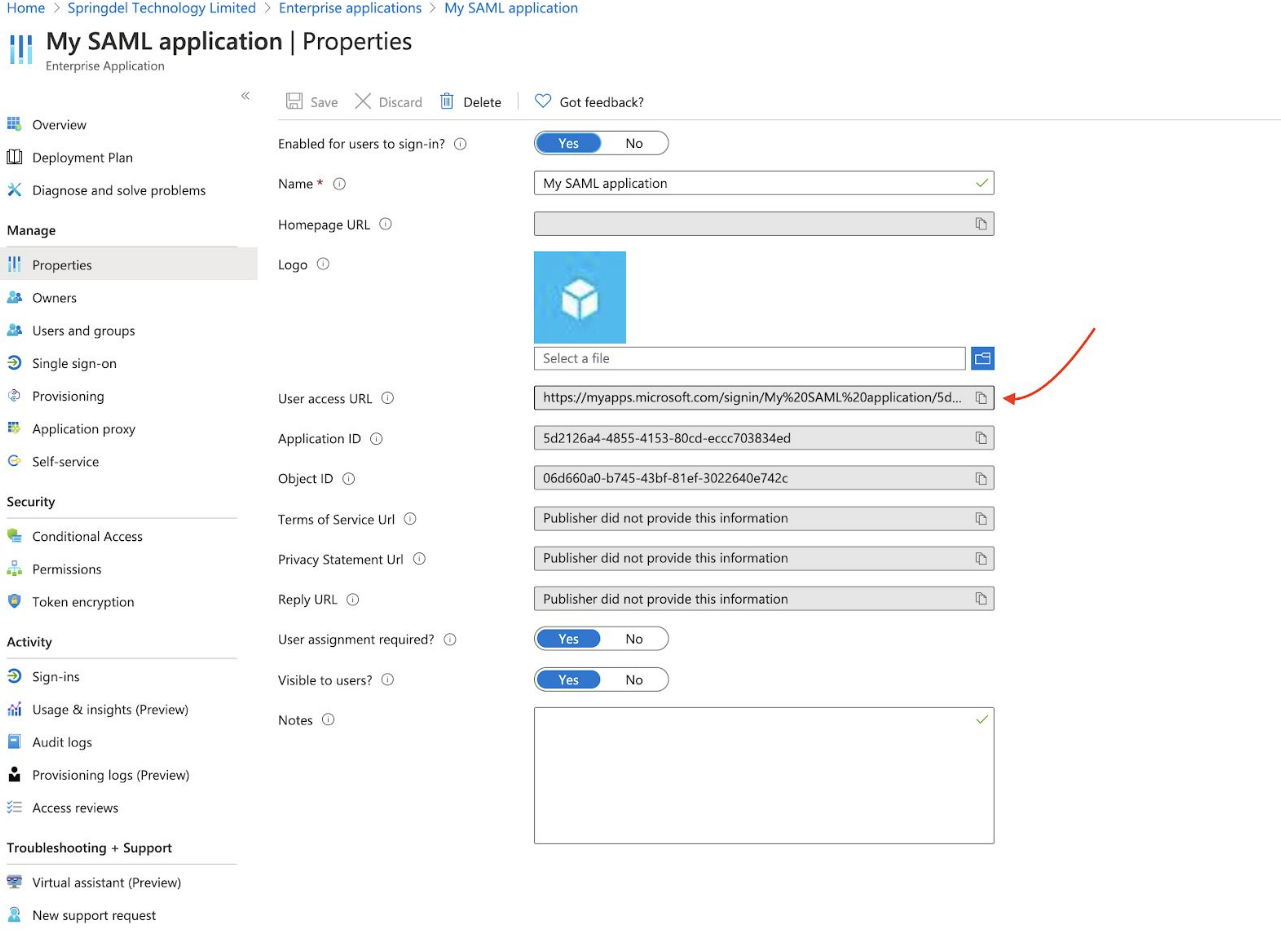
Alternatively, click on the “Properties” tab and change the “User assignment required” into
“No”. If this option is disabled, any users from your tenant can log in through your SAML app.
Send the following information to your Springdel representative.
1) Identifier (Entity ID)
2) Reply URL (Assertion Consumer Service URL)
3) “Login URL” and ”Azure AD identifier”
4) Federation Metadata XML
Login to Springdel using Azure AD SSO
Once complete, return to the Springmatic platform (edge.springdel.com) and so to Settings -> SSO and fill in the relevent information. Example below.
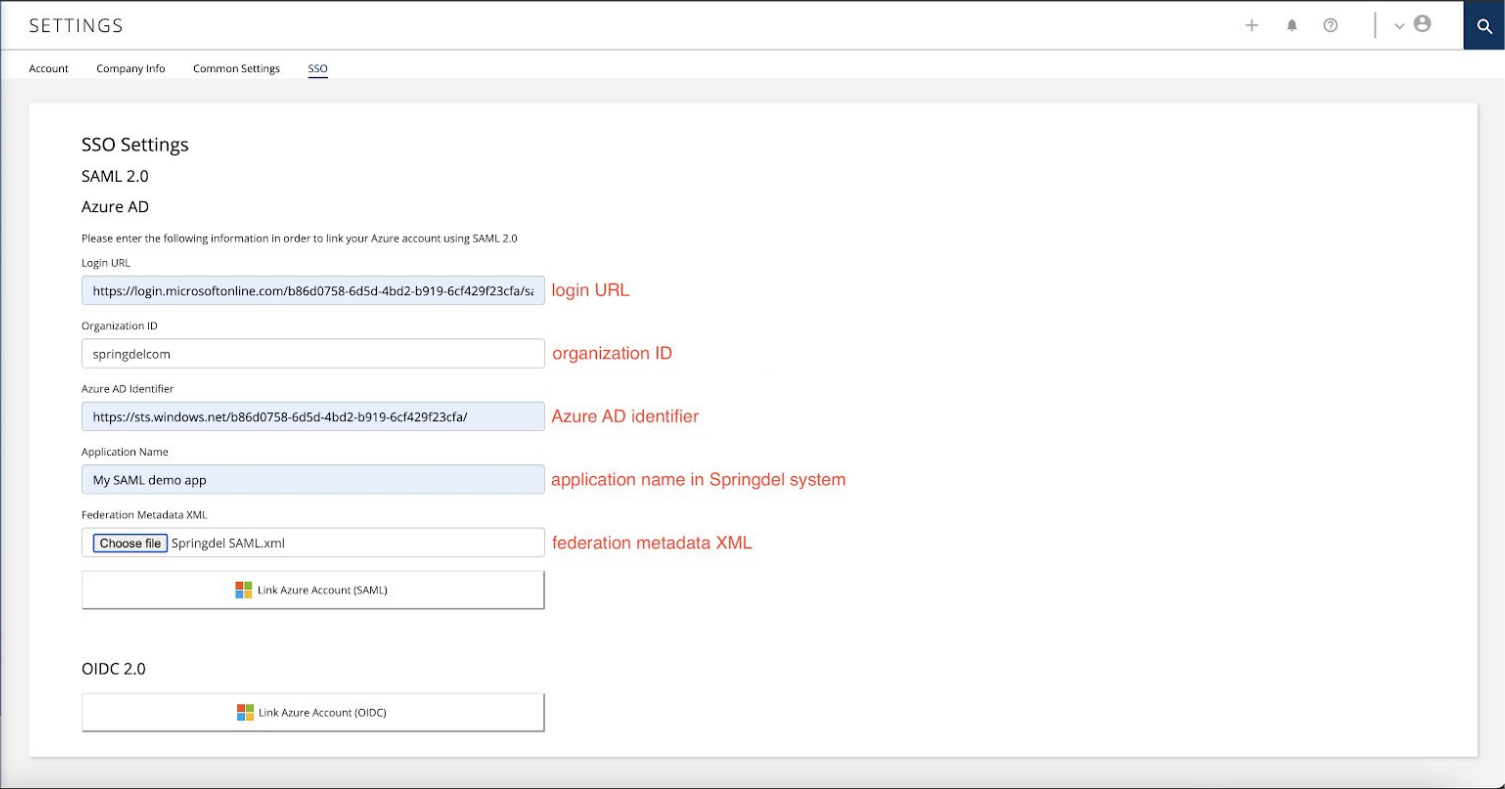
Once complete users of your organization can now log in to the Springmatic platform in one of two ways.
A static link in the attributes of your application, by clicking on which the users will enter
the system.
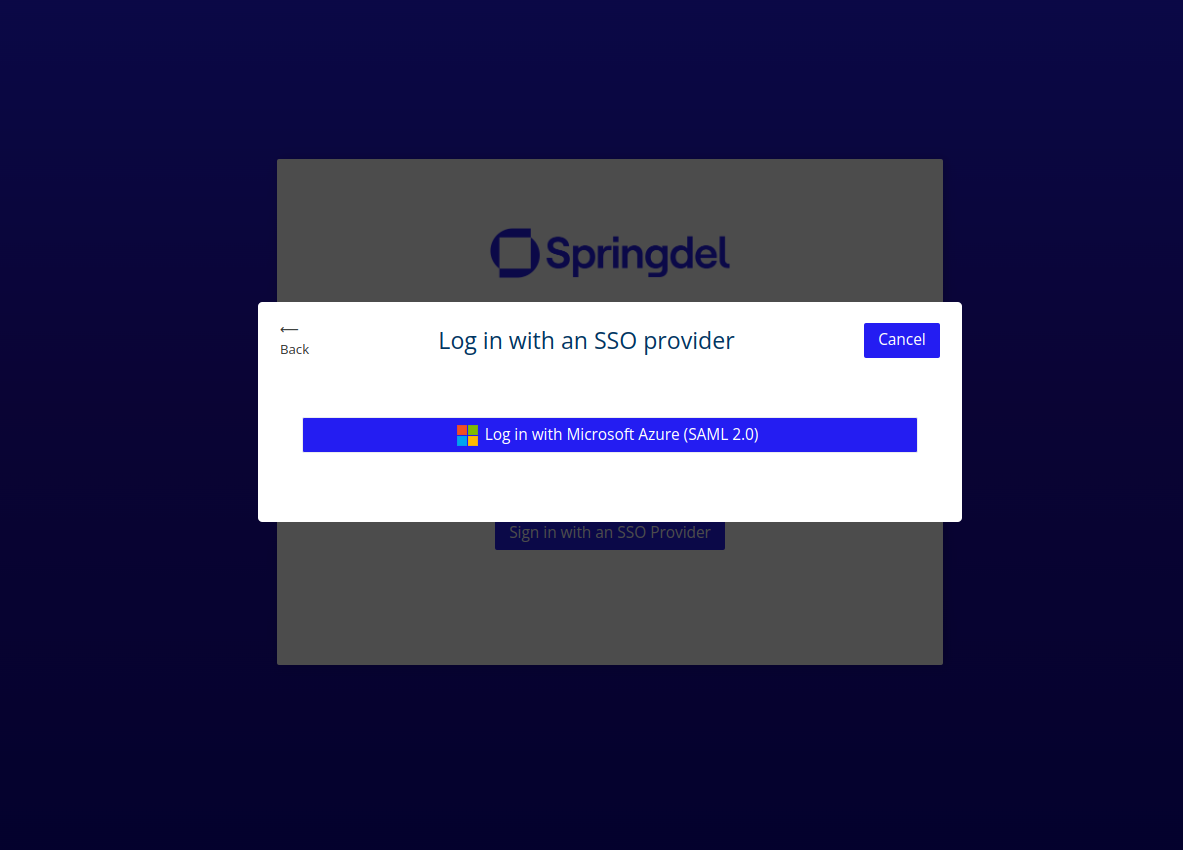
OR Navigate to the Springmatic login at https://edge.springdel.com.
On the login page select “Sign in with an SSO Provider” -> “Log in with Microsoft Azure (SAML 2.0)" and enter your organization ID.